Before I had Liam, I did some research on how to do gel nails at home! I knew it would be hard to make it out as often as I would like to get my nails done, so I figured why not try and do it myself! It actually turned out to be super easy and honestly, so much cheaper! I even do my own toes too!
What You’ll Need:
1. Gel Lamp
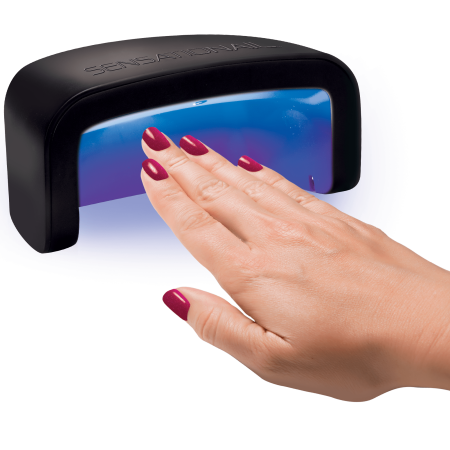

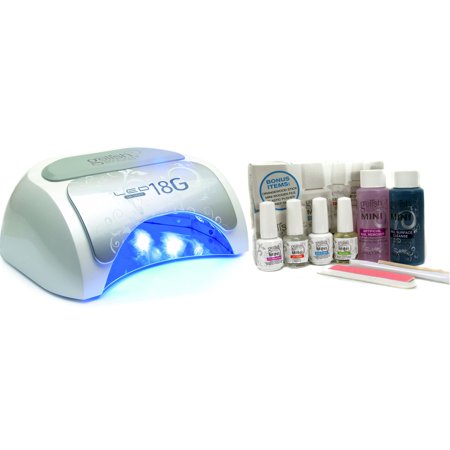
I have an OPI Lamp, which was more expensive, but I cannot find them anywhere now except for eBay!
2. Nail Files
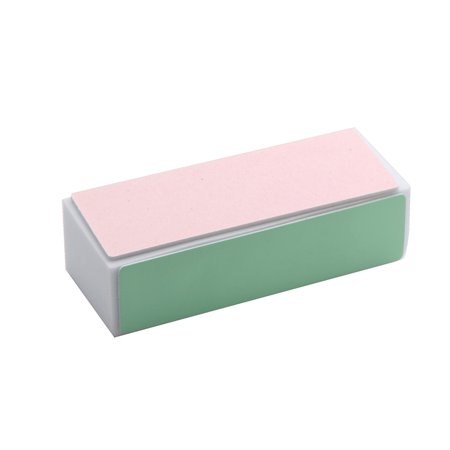
Any nail file will do! Also if you can get a buffer block like this one below, it will be easier!
3. Base and Top coat polish
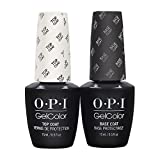
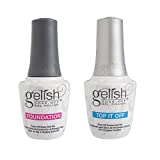
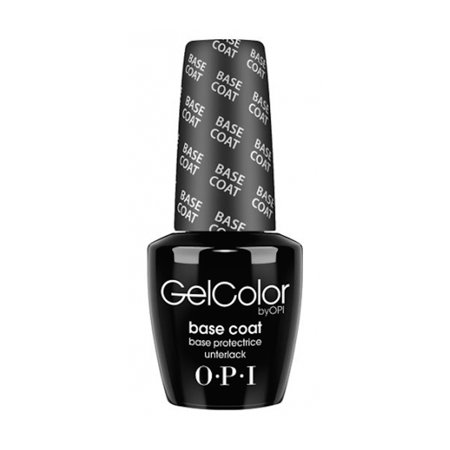
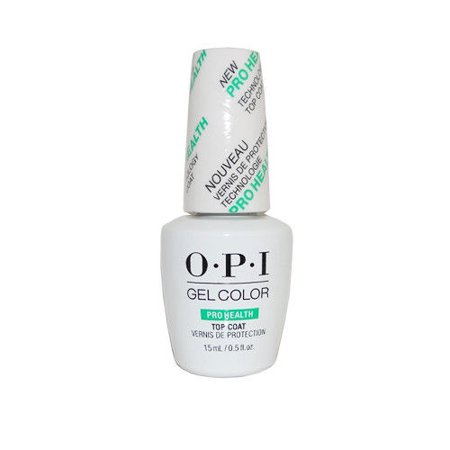
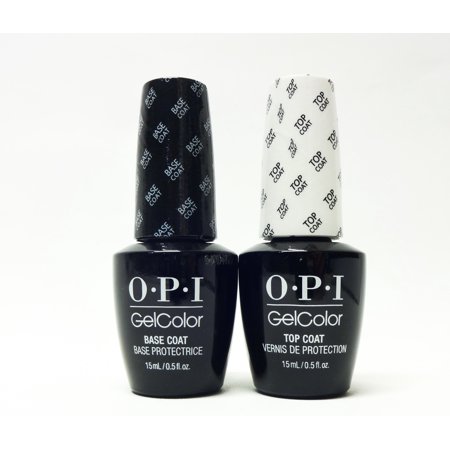
I use both the OPI and Gelish! I think they’ve worked the best out of all the ones I have tried. I posted the links to each one- some at better deals than others. They are hard to find sometimes since you have to have a license to purchase from a beauty supply store!
4. Gel Color- Your Choice
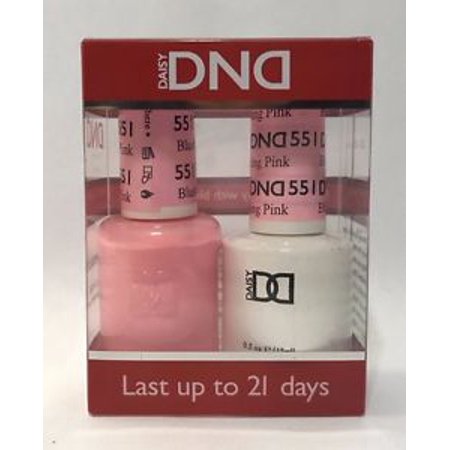
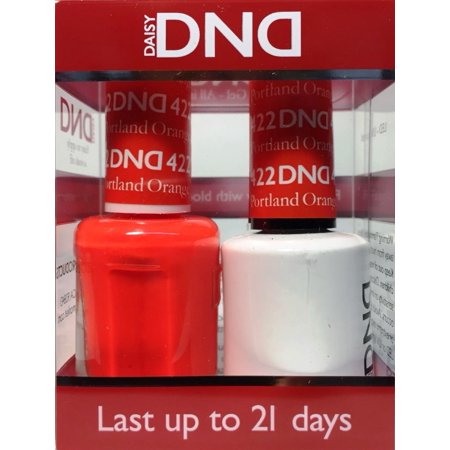
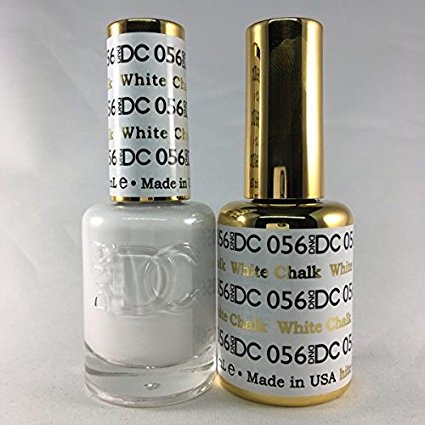
The DND color is my favorite because it comes with the gel color and the regular polish color! More bang for your buck! I personally think it lasts longer too! I’ve linked some of my favorite colors above!
5. Nail Polish Remover!
Any kind is fine! 🙂
How To:
- Trim and file your nails as you please!
- Use buffing block or nail file to file all over the nail-just through the first layer so that your nail isn’t shiny anymore.
- Paint the base coat all over your nails and cure under the light for 1-1.5 minutes
- Paint gel color all over your nails and cure for 1-1.5 minutes. Do as many layers as it takes to get the look you want. Just make sure every layer is thing so your nails don’t get too think on top.
- Apply top coat and cure for 1-1.5 minutes.
- Wipe off tacky layer of nails with nail polish remover!
- File as needed! Sometimes the polish sticks out from your nail if you painted on too much, all you have to do is file it down! Thats it your done!

